Deploying the Lambda
What are we going to do?
We are going to perform the following steps:
- Create a manifest file with our account in it
- Provision the stack delete-default-networking-function into an account
Step by step guide
Here are the steps you need to follow to provision the stack.
Create a manifest file with our account in it
-
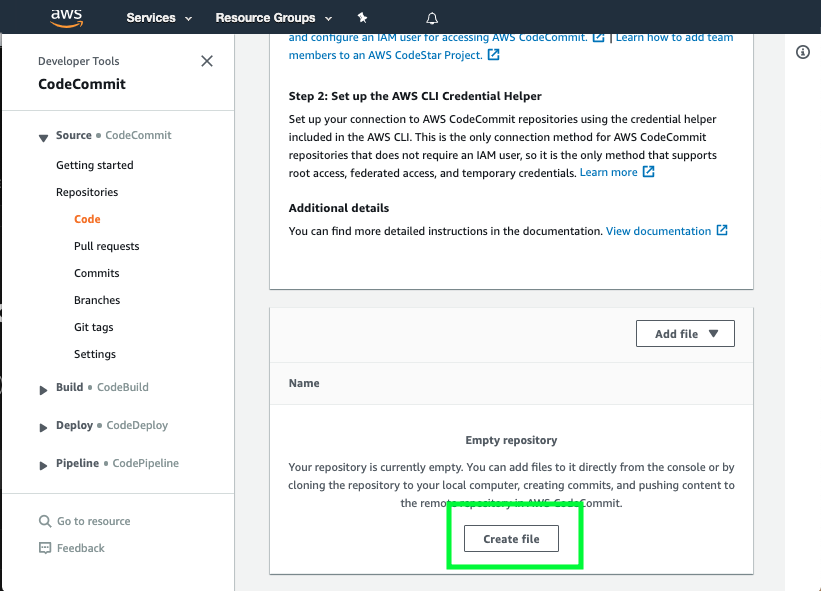
Navigate to the ServiceCatalogPuppet CodeCommit repository
-
Scroll down to the bottom of the page and hit the Create file button

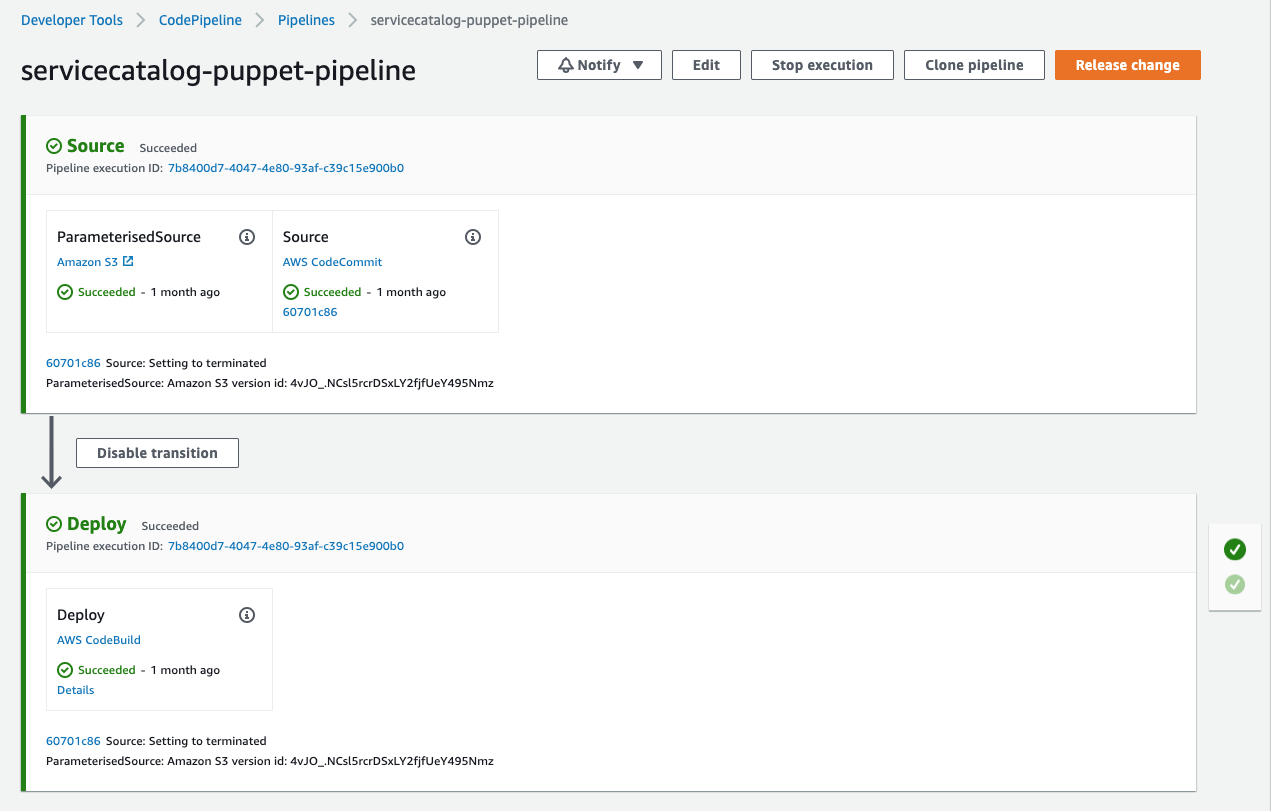
The screenshots may differ slightly as the design of AWS CodePipeline changes. You should see a pipeline where each stage is green.
- Copy the following snippet into the main input field:
accounts:
  - account_id: "${AWS::PuppetAccountId}"
    name: "puppet-account"
    default_region: "eu-west-1"
    regions_enabled:
      - "eu-west-1"
    tags:
      - "type:prod"
      - "partition:eu"
Provision the stack delete-default-networking-function into an account
-
Append the following snippet to the end of the main input field:
stacks: delete-default-networking-function: name: "delete-default-networking-function" version: "v1" capabilities: - CAPABILITY_NAMED_IAM deploy_to: tags: - tag: "type:prod" regions: "default_region" -
The main input field should look like this:
accounts:
  - account_id: "${AWS::PuppetAccountId}"
    name: "puppet-account"
    default_region: "eu-west-1"
    regions_enabled:
      - "eu-west-1"
    tags:
      - "type:prod"
      - "partition:eu"
stacks:
  delete-default-networking-function:
    name: "delete-default-networking-function"
    version: "v1"
    capabilities:
      - CAPABILITY_NAMED_IAM
    deploy_to:
      tags:
        - tag: "type:prod"
          regions: "default_region"
Committing the manifest file
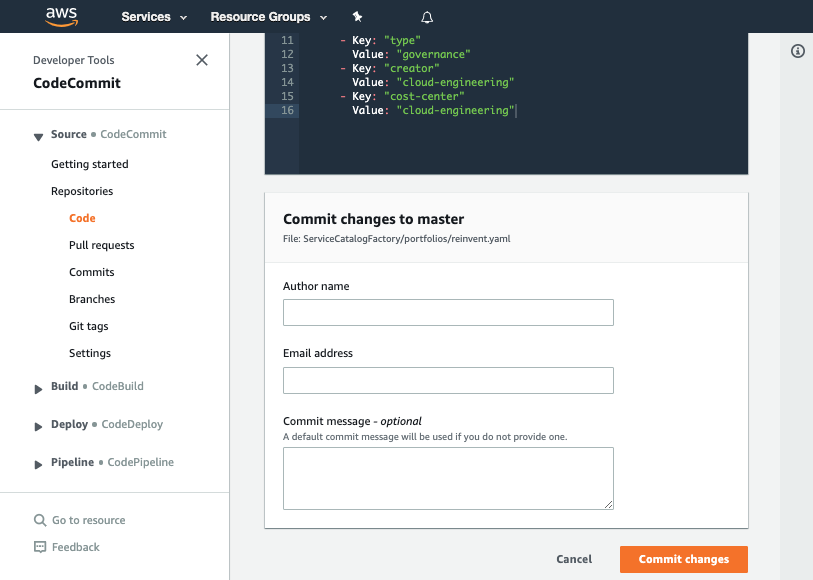
Now that we have written the manifest file we are ready to commit it.
-
Set the File name to
manifest.yaml -
Set your Author name
-
Set your Email address
-
Set your Commit message
Using a good / unique commit message will help you understand what is going on later.
- Click the Commit changes button:

What did we just do?
When you added the following:
stacks:
  delete-default-networking-function:
    name: "delete-default-networking-function"
    version: "v1"
    capabilities:
      - CAPABILITY_NAMED_IAM
    deploy_to:
      tags:
        - tag: "type:prod"
          regions: "default_region"
You told the framework to provision v1 of delete-default-networking-function into the default region of each account that has the tag type:prod
accounts:
  - account_id: "<YOUR_ACCOUNT_ID_WITHOUT_HYPHENS>"
    name: "puppet-account"
    default_region: "eu-west-1"
    regions_enabled:
      - "eu-west-1"
    tags:
      - "type:prod"
      - "partition:eu"
Verifying the provisioned stack
Once you have made your changes the ServiceCatalogPuppet Pipeline should have run. If you were quick in making the change, the pipeline may still be running. If it has not yet started feel free to the hit the Release change button.
Once it has completed it should show the stages in green to indicate they have completed successfully:

The screenshots may differ slightly as the design of AWS CodePipeline changes. You should see a pipeline where each stage is green.
Once you have verified the pipeline has run you can go to the AWS CloudFormation console in the default region of the account you specified to view your provisioned stack.
You have now successfully provisioned a stack.