Provisioning a product
What are we going to do?
This tutorial will walk you through “Provisioning a product” into a spoke account.
We will assume you have:
- installed Service Catalog Puppet correctly
- bootstrapped a spoke
- you have created a product
- you have created a portfolio
We are going to perform the following steps:
- create a manifest file
- add an account to the manifest file
- add a launch to the manifest file
During this process you will check your progress by verifying what the framework is doing at each step.
Step by step guide
Here are the steps you need to follow to “Provisioning a product”
Creating the manifest file
-
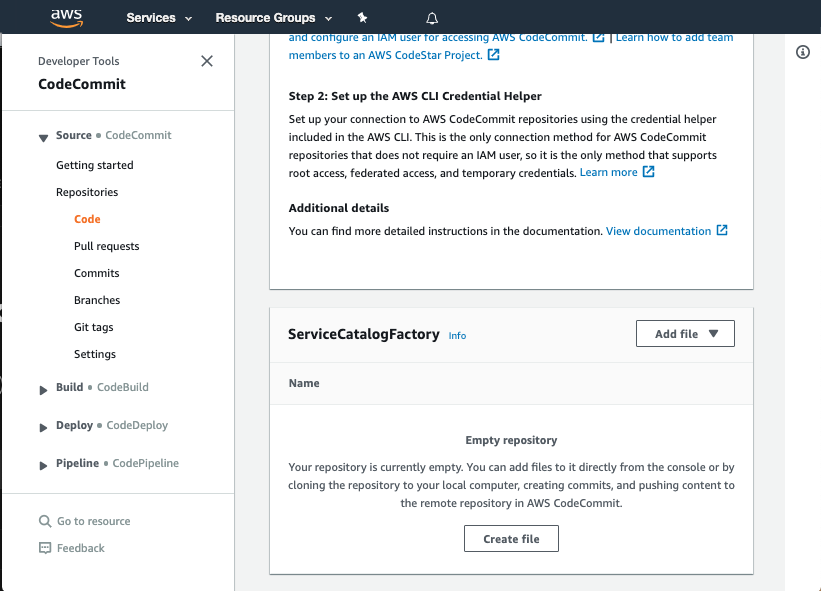
Navigate to the ServiceCatalogPuppet CodeCommit repository
-
Scroll down to the bottom of the page and hit the Create file button
Adding an account to the manifest file
-
Copy the following snippet into the main input field:
accounts: - account_id: "<YOUR_ACCOUNT_ID_WITHOUT_HYPHENS>" name: "puppet-account" default_region: "eu-west-1" regions_enabled: - "eu-west-1" - "eu-west-2" tags: - "type:prod" - "partition:eu" -
Update account_id on line to show your account id
Adding a launch to the manifest
Now we are ready to add a product to the manifest file.
- Add the following snippet to the end of the main input field:
launches:
  aws-config-enable-config:
    portfolio: "reinvent-cloud-engineering-governance"
    product: "aws-config-enable-config"
    version: "v1"
    deploy_to:
      tags:
        - tag: "type:prod"
          regions: "default_region"
- The main input field should look like this:
accounts:
  - account_id: "<YOUR_ACCOUNT_ID_WITHOUT_HYPHENS>"
    name: "puppet-account"
    default_region: "eu-west-1"
    regions_enabled:
      - "eu-west-1"
      - "eu-west-2"
    tags:
      - "type:prod"
      - "partition:eu"
launches:
  aws-config-enable-config:
    portfolio: "reinvent-cloud-engineering-governance"
    product: "aws-config-enable-config"
    version: "v1"
    deploy_to:
      tags:
        - tag: "type:prod"
          regions: "default_region"
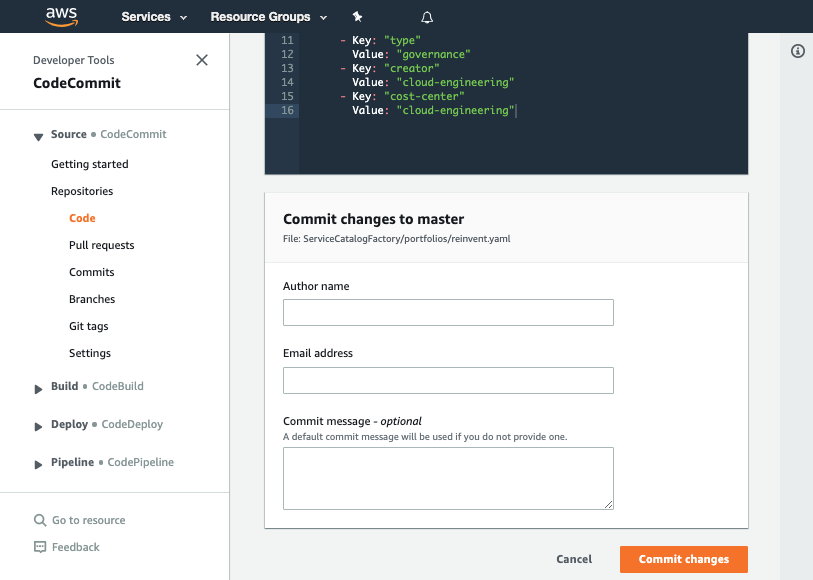
Committing the manifest file
Now that we have written the manifest file we are ready to commit it.
-
Set the File name to
manifest.yaml -
Set your Author name
-
Set your Email address
-
Set your Commit message
Using a good / unique commit message will help you understand what is going on later.
- Click the Commit changes button:
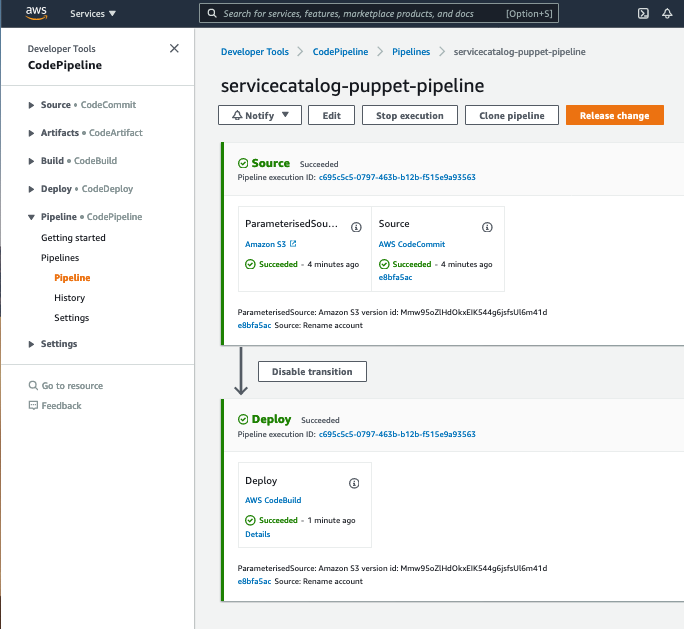
Verifying the provisioning
Once you have made your changes the ServiceCatalogPuppet Pipeline should have run or if you were quick may still be running. If it has not yet started feel free to the hit the Release change button.
Once it has completed it should show the Source and Deploy stages in green to indicate they have completed successfully:
Once you have verified the pipeline has run you can go to Service Catalog provisioned products to view your provisioned product. Please note when you arrive at the provisioned product page you will need to select account from the filter by drop down in the top right:
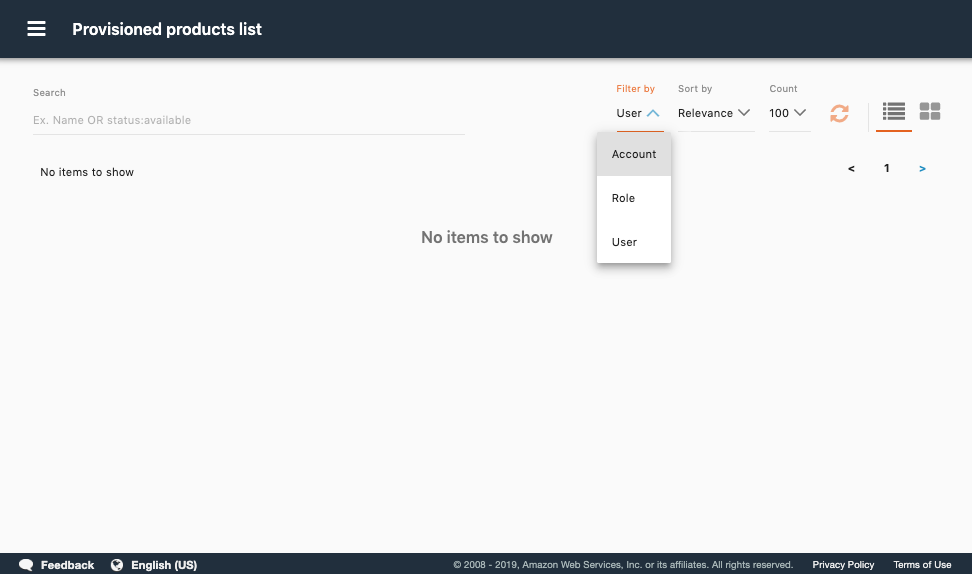
You have now successfully provisioned a product! When provisioned, this product will automatically enable AWS Config.