Provisioning CloudFormation
What are we going to do?
This tutorial will walk you through how to use the “Provisioning CloudFormation” feature.
We will assume you have:
- installed Service Catalog Puppet correctly
- bootstrapped a spoke
- created a manifest file
- added an account to the manifest file
We will assume you are comfortable:
- making changes your manifest file
We are going to perform the following steps to “Provisioning CloudFormation”:
- upload a template to AWS CloudFormation
- specify an AWS CloudFormation template that should be provisioned
Step by step guide
Here are the steps you need to follow to “Provisioning CloudFormation”
Things to note, before we start
- This feature was added to version 0.108.0. You will need to be using this version (or later)
- Stacks can use parameters, deploy_to and outputs
- Stacks can be used in spoke execution mode
- Stacks can be used in dry-runs
- Stacks do not appear in list-launches (they are not a launch)
Upload a template to AWS CloudFormation
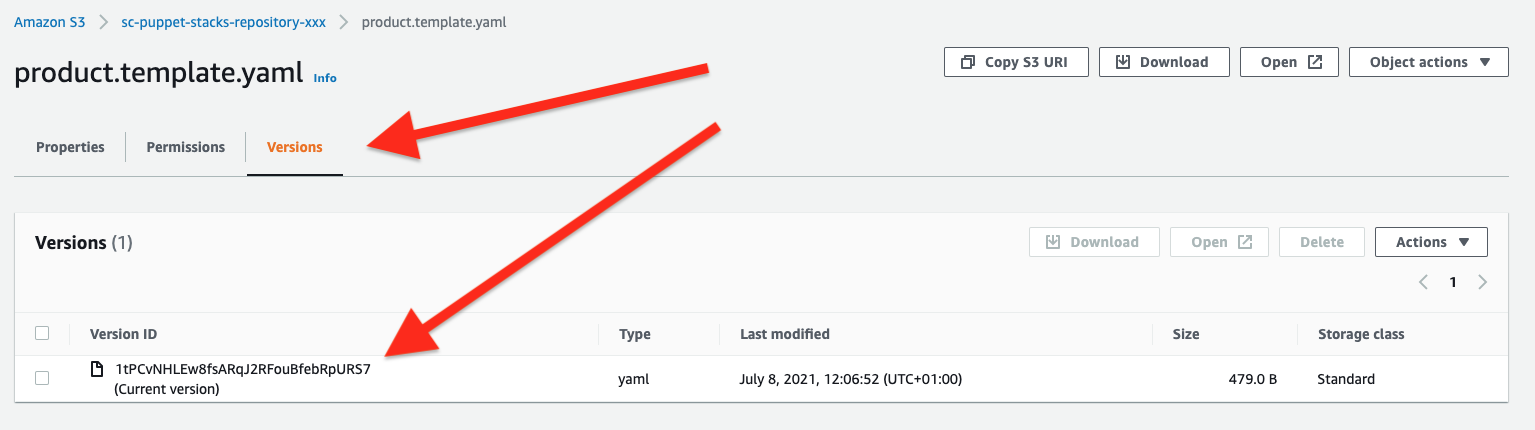
When you upgrade to version 0.108.0 or newer you will see a bucket named sc-puppet-stacks-repository-xxx where xxx is your AWS account id. You should upload a template into that bucket and get the version id of the template:
Specify an AWS CloudFormation template that should be provisioned
Now we are ready to add a stack to the manifest file.
-
Navigate to the ServiceCatalogPuppet CodeCommit repository
-
Click the ServiceCatalogPuppet repository
-
Click the link to the manifest.yaml file, and then click the Edit button
-
Add the following snippet to the end of the main input field:
stacks:
  basic-vpc:
    key: product.template.yaml
    version_id: 1tPCvNHLEw8fsARqJ2RFouBfebRpURS7
    depends_on:
      - name: basic-vpc
        type: launches
        affinity: account
    deploy_to:
      tags:
        - tag: group:spoke
          regions: regions_enabled
    outputs:
      ssm:
        - stack_output: VPCId
          param_name: "/vpcs/${AWS::AccountId}/${AWS::Region}/VPCId"
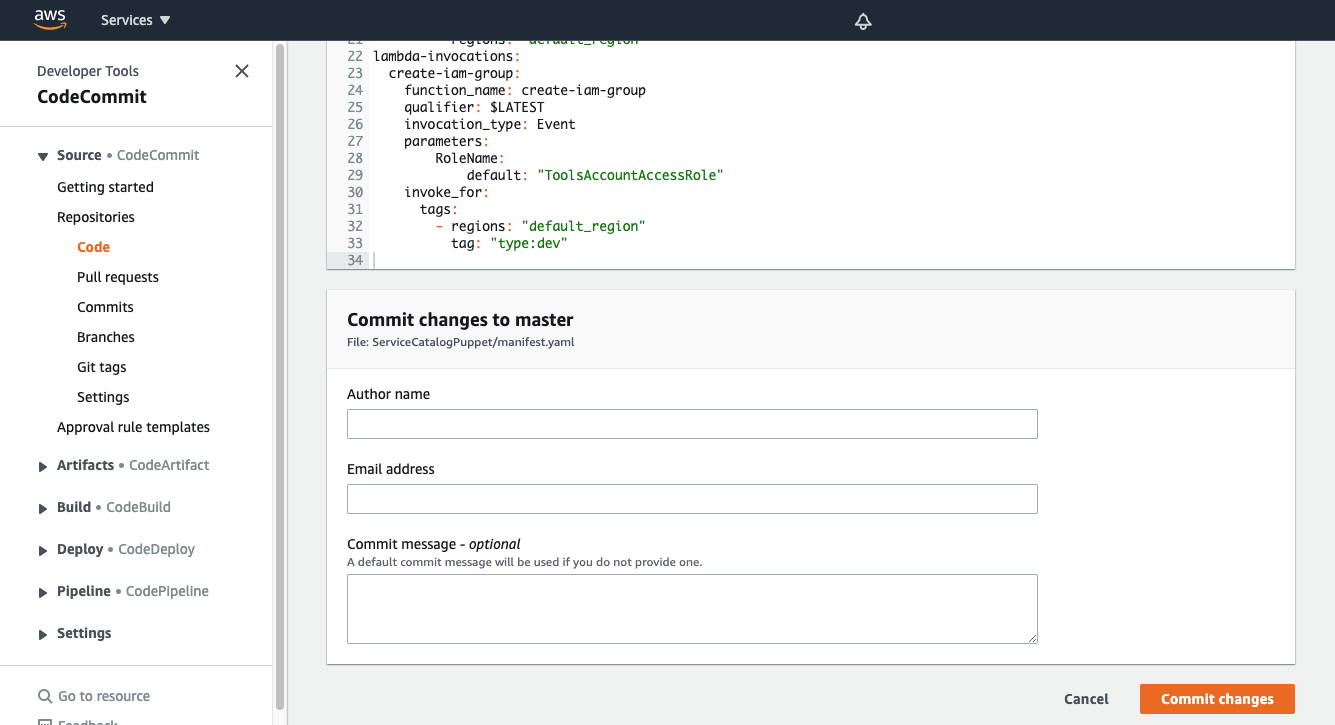
Committing the manifest file
Now that we have updated the manifest file we are ready to commit our changes.
- Set your Author name
- Set your Email address
- Set your Commit message
Using a good / unique commit message will help you understand what is going on later.
- Click the Commit changes button: