Provisioning a Stack
What are we going to do?
This tutorial will walk you through how to use the “Provisioning a Stack” feature.
We will assume you have:
- installed Service Catalog Factory correctly
- installed Service Catalog Puppet correctly
- bootstrapped a spoke
- created a manifest file
- added an account to the manifest file
We will assume you are comfortable:
- making changes your portfolios files
- making changes your manifest file
We are going to perform the following steps to “Provisioning a Stack”:
- creating a stack using Service Catalog Factory
- provision a stack using Service Catalog Puppet
Step by step guide
Here are the steps you need to follow for “Provisioning a Stack”
Things to note, before we start
- This feature was added in version 0.63.0 of Service Catalog Factory. You will need to be using this version (or later)
- This feature was added in version 0.109.0 of Service Catalog Puppet. You will need to be using this version (or later)
- Stacks can use parameters, deploy_to and outputs
- Stacks can be used in spoke execution mode
- Stacks can be used in dry-runs
- Stacks can be provisioned in spoke execution mode (since Service Catalog Puppet version 0.109.0)
- Stacks do not appear in list-launches (they are not a launch)
Creating a stack using Service Catalog Factory
-
Navigate to the ServiceCatalogFactory CodeCommit repository
-
click Add file and then Create file
-
Paste the following into the main input window:
-
In the File name field enter the following
stacks/example.yaml
Schema: factory-2019-04-01
Stacks:
  - Name: "ssm-parameter"
    Versions:
      - Name: "v1"
        Source:
          Provider: "CodeCommit"
          Configuration:
            RepositoryName: "ssm-parameter-stack"
            BranchName: "main"
-
Please note the file name is not significant but it must have the extension
.yamland it must be in a directory namedstacks -
Fill in the other fields and save the file. Once you do the pipeline
servicecatalog-factory-pipelinewill run. -
Once the pipeline is complete you will have a new pipeline named
stack--ssm-parameter-v1-pipeline -
You should navigate to AWS CodeCommit, create a repo named
ssm-parameter-stackand add a file namedstack.template.yamlwith the following content on themainbranch:
Parameters:
  Name:
    Type: String
  Value:
    Type: String

Resources:
  Parameter:
    Type: AWS::SSM::Parameter
    Properties:
      Name: !Ref Name
      Type: String
      Value: !Ref Value

Outputs:
  Value:
    Value: !GetAtt Parameter.Value
- Once you have added the file the pipeline
stack--ssm-parameter-v1-pipelinewill run. It will take the source code and add will add it to Amazon S3 so you can use it in Service Catalog Puppet in the step below.
Provision a stack using Service Catalog Puppet
Now we are ready to provision the stack using the manifest file.
-
Navigate to the ServiceCatalogPuppet CodeCommit repository
-
Click the ServiceCatalogPuppet repository
-
Click the link to the manifest.yaml file, and then click the Edit button
-
Add the following snippet to the end of the main input field:
stacks:
  ssm-parameter:
    name: ssm-parameter
    version: v1
    parameters:
      Name:
        default: "hello"
      Value:
        default: "world"
    deploy_to:
      tags:
        - tag: type:prod
          regions: regions_enabled
Capabilities
In some cases, you must explicitly acknowledge that your stack template contains certain capabilities in order for CloudFormation to create the stack.
When you need to do this you can specify the capabilities as a list per stack:
stacks:
  ssm-parameter:
    name: ssm-parameter
    version: v1
    capabilities:
      - CAPABILITY_IAM
    parameters:
      Name:
        default: "hello"
      Value:
        default: "world"
    deploy_to:
      tags:
        - tag: type:prod
          regions: regions_enabled
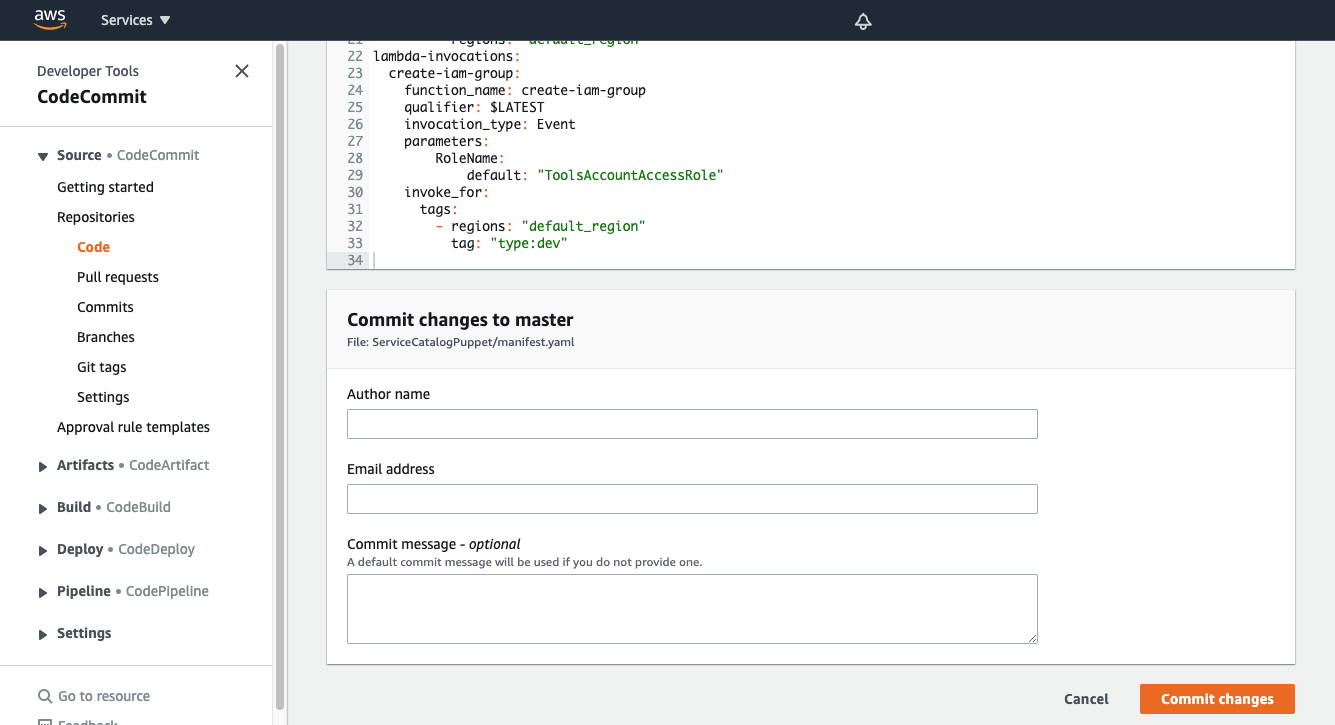
Committing the manifest file
Now that we have updated the manifest file we are ready to commit our changes.
- Set your Author name
- Set your Email address
- Set your Commit message
Using a good / unique commit message will help you understand what is going on later.
- Click the Commit changes button: