Adding an account
What are we going to do?
This tutorial will walk you through “Adding an account”
We will assume you have:
- installed Service Catalog Puppet correctly
- created a manifest
- bootstrapped a spoke
We are going to perform the following steps:
- adding an account to the manifest file
During this process you will check your progress by verifying what the framework is doing at each step.
Step by step guide
Here are the steps you need to follow to “Adding an account”
Adding an account to the manifest file
-
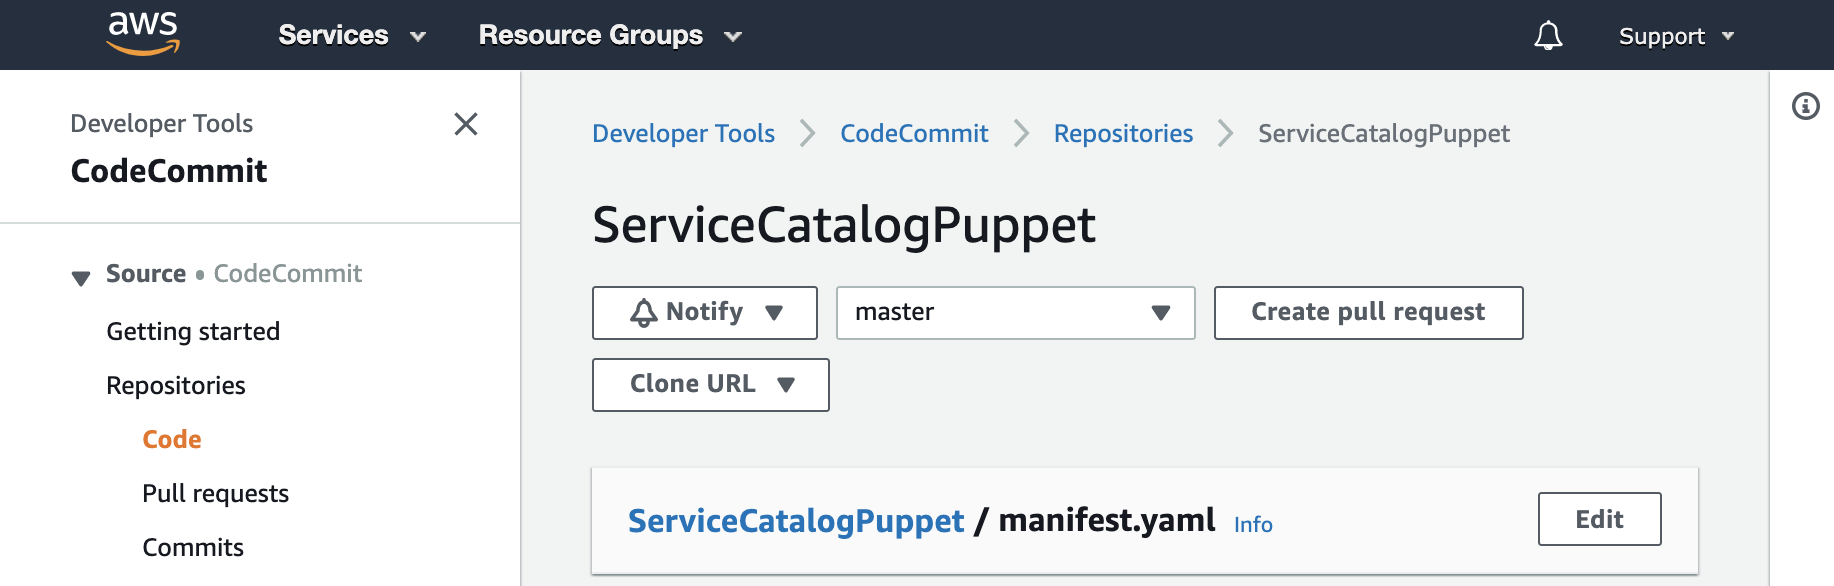
Navigate to the ServiceCatalogPuppet CodeCommit repository
-
Click on manifest.yaml
-
Click Edit
-
Append the following snippet to the YAML document in the main input field (be careful with your indentation):
-
Copy the following snippet into the main input field:
accounts: - account_id: "<YOUR_ACCOUNT_ID_WITHOUT_HYPHENS>" name: "puppet-account" default_region: "eu-west-1" regions_enabled: - "eu-west-1" - "eu-west-2" tags: - "type:prod" - "partition:eu" -
Update account_id on line to show the account id of the account you have bootstrapped
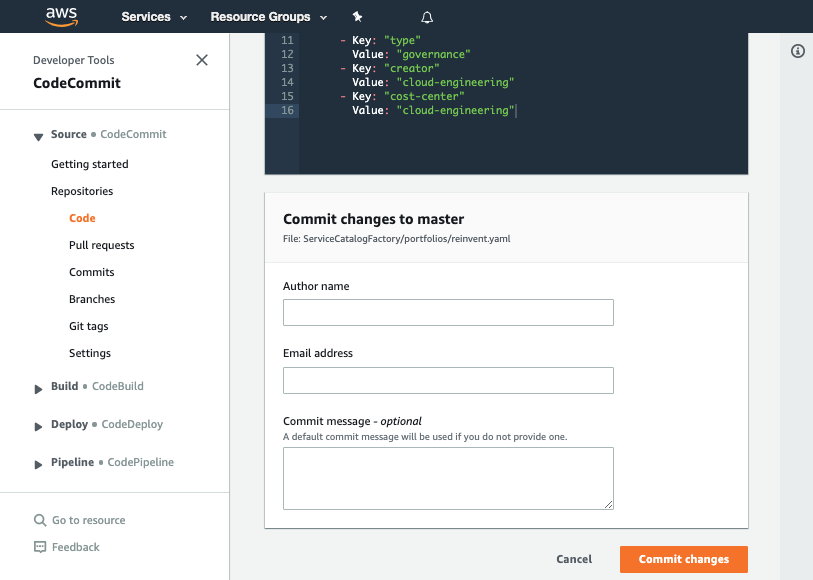
Committing the manifest file
-
Set the File name to
manifest.yaml -
Set your Author name
-
Set your Email address
-
Set your Commit message
Using a good / unique commit message will help you understand what is going on later.
- Click the Commit changes button: