Add the source code
What are we going to do?
We are going to perform the following steps:
- Add the source code for the version of the AWS Service Catalog product we have just created
Step by step guide
Here are the steps you need to follow to “Add the source code”
Add the source code for your product
When you configured your product version, you specified the following:
    Versions:
      - Name: "v1"
        Description: "v1 of aws-config-enable-config"
        Active: True
        Source:
          Provider: "CodeCommit"
          Configuration:
            RepositoryName: "aws-config-enable-config"
            BranchName: "main"
We now need to create the AWS CodeCommit repository and add the AWS CloudFormation template we are going to use for our product into that repository.
-
Navigate to AWS CodeCommit
-
Click Create repository
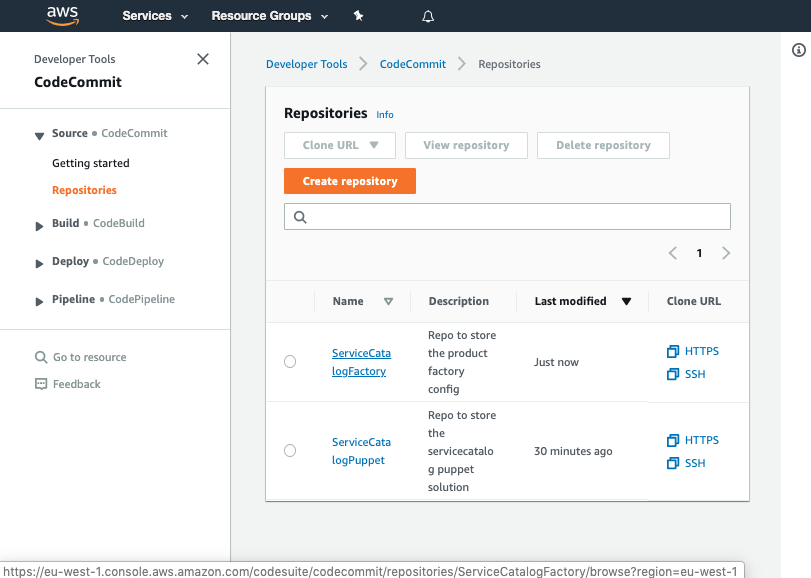
- Input the name
aws-config-enable-config
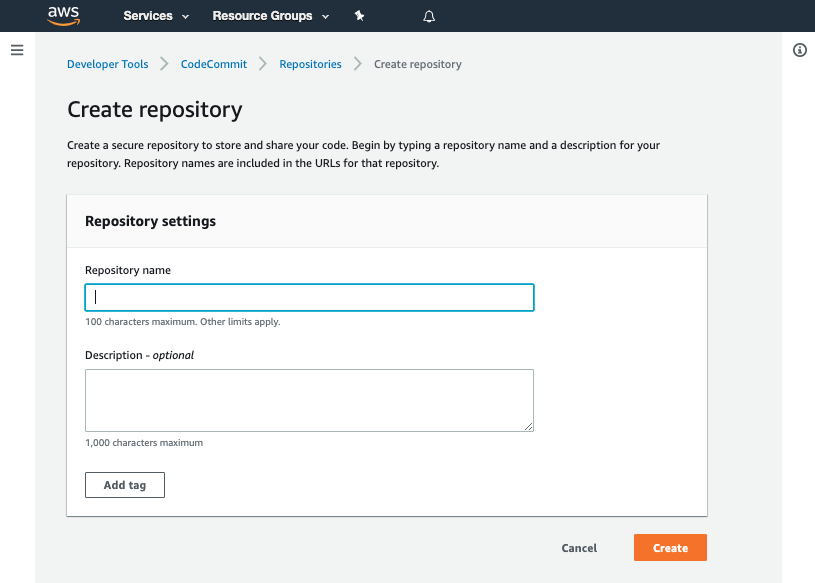
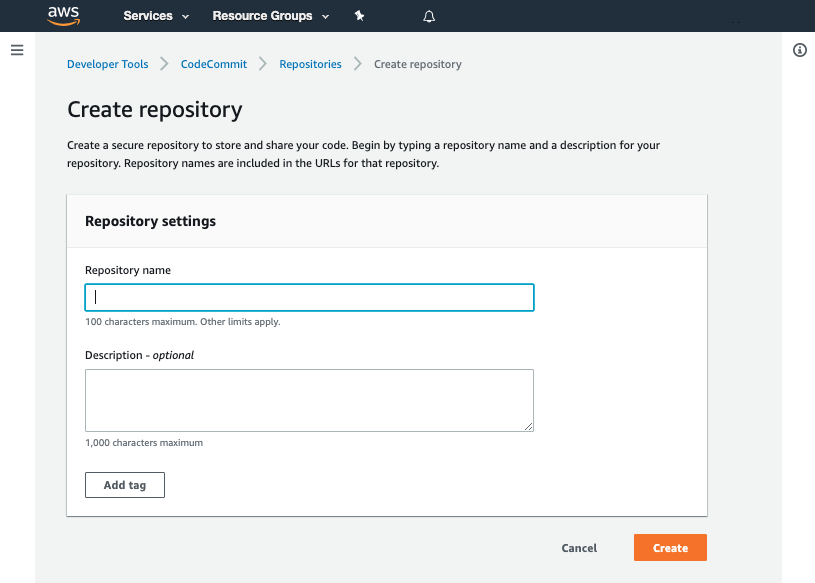
- Click Create
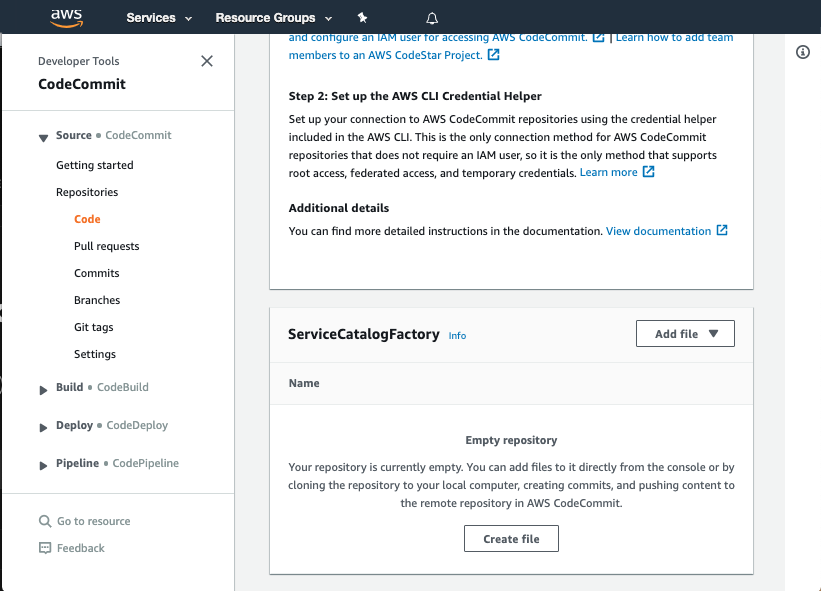
- Scroll down to the bottom of the page and hit the Create file button
-
Copy the following snippet into the main input field:
AWSTemplateFormatVersion: 2010-09-09 Description: | This template creates a Config Recorder and an Amazon S3 bucket where logs are published. Resources: ConfigRole: Type: 'AWS::IAM::Role' Description: The IAM role used to configure AWS Config Properties: AssumeRolePolicyDocument: Version: 2012-10-17 Statement: - Effect: Allow Principal: Service: - config.amazonaws.com Action: - 'sts:AssumeRole' ManagedPolicyArns: - arn:aws:iam::aws:policy/service-role/AWSConfigRole Policies: - PolicyName: root PolicyDocument: Version: 2012-10-17 Statement: - Effect: Allow Action: 's3:GetBucketAcl' Resource: !Sub arn:aws:s3:::${S3ConfigBucket} - Effect: Allow Action: 's3:PutObject' Resource: !Sub arn:aws:s3:::${S3ConfigBucket}/AWSLogs/${AWS::AccountId}/${AWS::Region} Condition: StringEquals: 's3:x-amz-acl': bucket-owner-full-control - Effect: Allow Action: 'config:Put*' Resource: '*' ConfigRecorder: Type: 'AWS::Config::ConfigurationRecorder' DependsOn: ConfigRole Properties: Name: default RoleARN: !GetAtt ConfigRole.Arn DeliveryChannel: Type: 'AWS::Config::DeliveryChannel' Properties: ConfigSnapshotDeliveryProperties: DeliveryFrequency: Six_Hours S3BucketName: !Ref S3ConfigBucket S3ConfigBucket: DeletionPolicy: Retain Description: S3 bucket with AES256 Encryption set Type: AWS::S3::Bucket Properties: BucketName: !Sub config-bucket-${AWS::AccountId} PublicAccessBlockConfiguration: BlockPublicAcls: True BlockPublicPolicy: True IgnorePublicAcls: True RestrictPublicBuckets: True BucketEncryption: ServerSideEncryptionConfiguration: - ServerSideEncryptionByDefault: SSEAlgorithm: AES256 S3ConfigBucketPolicy: Type: AWS::S3::BucketPolicy Description: S3 bucket policy Properties: Bucket: !Ref S3ConfigBucket PolicyDocument: Version: 2012-10-17 Statement: - Sid: AWSBucketPermissionsCheck Effect: Allow Principal: Service: - config.amazonaws.com Action: s3:GetBucketAcl Resource: - !Sub "arn:aws:s3:::${S3ConfigBucket}" - Sid: AWSBucketDelivery Effect: Allow Principal: Service: - config.amazonaws.com Action: s3:PutObject Resource: !Sub "arn:aws:s3:::${S3ConfigBucket}/AWSLogs/*/*" Outputs: ConfigRoleArn: Value: !GetAtt ConfigRole.Arn S3ConfigBucketArn: Value: !GetAtt S3ConfigBucket.Arn -
Set the File name to
product.template.yaml -
Set your Author name
-
Set your Email address
-
Set your Commit message
Using a good / unique commit message will help you understand what is going on later.
Creating that file should trigger your aws-config-enable-config-v1-pipeline.
Once the pipeline has completed it should show the Source, Package and Deploy stages in green to indicate they have completed successfully:
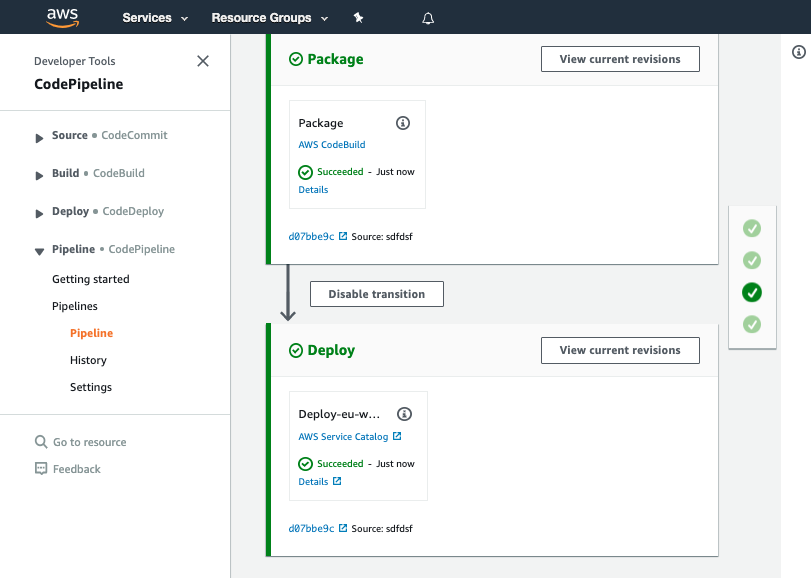
You should see your commit message on this screen, it will help you know which version of ServiceCatalogFactory repository the pipeline is processing.
Once you have verified the pipeline has run you can go to Service Catalog products to view your newly created version.
Click on the product and verify v1 is there
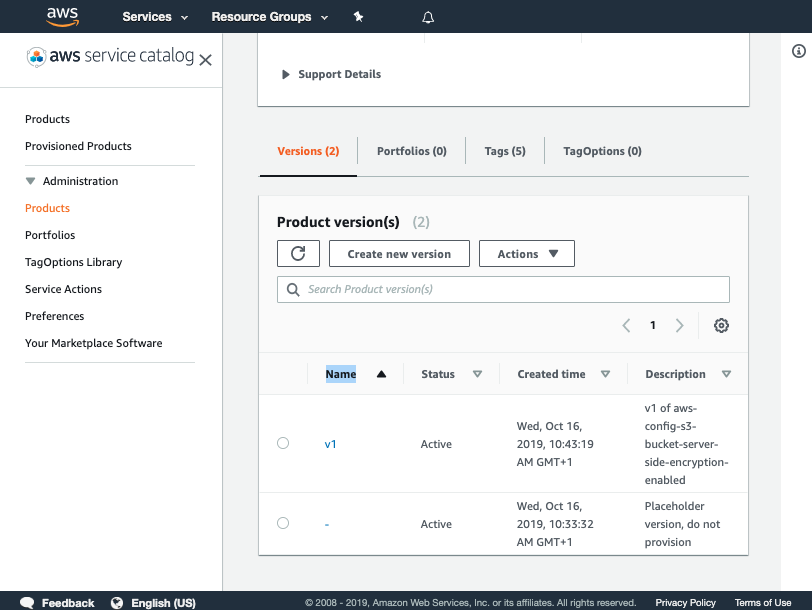
You have now successfully created a version for your product!
Specifying source code to import
If you are using AWS CodeCommit as your SCM you are able to request the framework to create the git repository for you and you can specify an AWS S3 source for where the initial commit should come from:
  - Name: "vpc"
    Owner: "networking@example.com"
    Description: "vpc"
    Distributor: "cloud-engineering"
    SupportDescription: "Speak to networking@example.com for help"
    SupportEmail: "networking@example.com"
    SupportUrl: "https://wiki.example.com/cloud-engineering/networking/vpc"
    Source:
      Provider: "CodeCommit"
      Configuration:
        RepositoryName: "networking-vpc"
        Code:
          S3:
            Bucket: "service-catalog-tools-product-sets-eu-west-2"
    Versions:
      - Name: "v1"
        Description: "v1 of vpc"
        Active: True
        Source:
          Configuration:
            BranchName: "v1"
            Code:
              S3:
                Key: "product-sets/networking/vpc/v1/networking--vpc--v1.zip"
    Portfolios:
      - "demo-portfolio"
In the example above we are saying the initial source code should come from the S3 bucket named service-catalog-tools-product-sets-eu-west-2 using the key product-sets/networking/vpc/v1/networking–vpc–v1.zip
You can split the declaration between the product and version as we have in the example above or you could have specified all of the configuration under the version.